[ Rotate | Custom Rotation | Translate | Zoom | Center | Torsion | Connect ]
| Available in the following product(s): ICM-Browser | ICM-Browser-Pro | ICM-Pro |
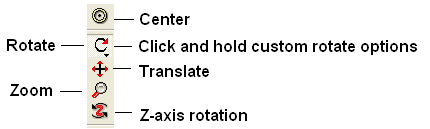
To move your structure it must first be displayed in the graphics window (for instructions on how to display a structure see the Display Tab). All of the following options are displayed in the Move Tools toolbar (shown below).
In order to achieve the best pose for a picture or to enable the study of a certain region of your structure in more detail you may need to rotate the structure:
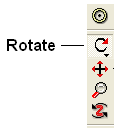
- Click on the rotation icon on the toolbar.
- Click and drag on your structure in the display window until it is in the desired position.
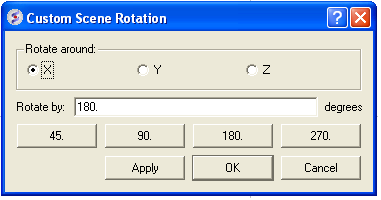
An option is provided to customize the rotation of the molecule. This allows exact rotation by a specified number of degrees.
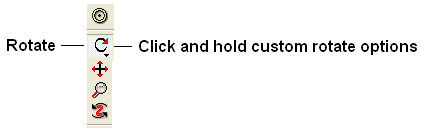
- Click and hold down the rotation button and a data entry box as shown below will be displayed.
- Enter the number of degrees of rotation you require and in which X, Y or Z coordinate.
To continuously rotate the picture:
- Click on the continuous rotation icon on the toolbar.
- Click, hold, and slightly move your mouse anywhere on the graphical display window. The point at which you hold your mouse, is the direction to which the object will turn.
- Positioning the mouse towards the center of the display will move the object slower than if the mouse is positioned towards the edge of the graphical display.
In order to rotate your picture around the Z-axis:
- Click on the Z-axis rotation icon on the toolbar.
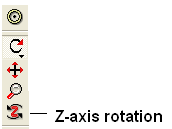
- Click and drag your object around the Z-axis until it is in the desired position.
To translate your structure up, down, left, or right:
- Click on the translation icon on the toolbar.
![]()
- Click and drag on your structure in the display window until it is in the desired position.
When you are displaying more than one object and you wish to translate one object in relation to the other on the Z-axis:
- Right click on the name of the object you wish to move in the ICM workspace and select connect to object. This object is now independent from the other object and can now be manipulated separately.
- Click on the Z translate icon on the toolbar.
- Click and drag your structure along the Z-axis, moving it closer or further from your unconnected structure.
- Once you are finished, right click on the name of the object which is connected, and click on disconnect.
To zoom in or out of your structure:
- Click on the zoom icon on the toolbar.
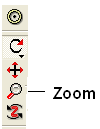
- Click and drag your mouse up to zoom in and down to zoom out.
You can also zoom in and out directly with the right-mouse-button without explicitly switching to the zoom tool, if you use the left 5%-margin of the graphics window.
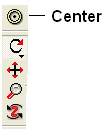
To restore your picture to the center of the graphical display window or to center on a selection:
- Make a selection of the region you wish to zoom into - if no selection is made the whole structure will be centered.
- Click on the center icon on the toolbar.
[ Torsion Profile ]
To alter the torsion angle of certain residues of your structure manually:
- Convert your pdb structure into an ICM object.
- Click on the change torsion angles icon on the toolbar (see image below).
- Click on the bond until you see the torsion angle displayed in yellow (see image below). Click and hold on the bond around which you wish to rotate a residue. The changing torsion angle will be displayed in orange.
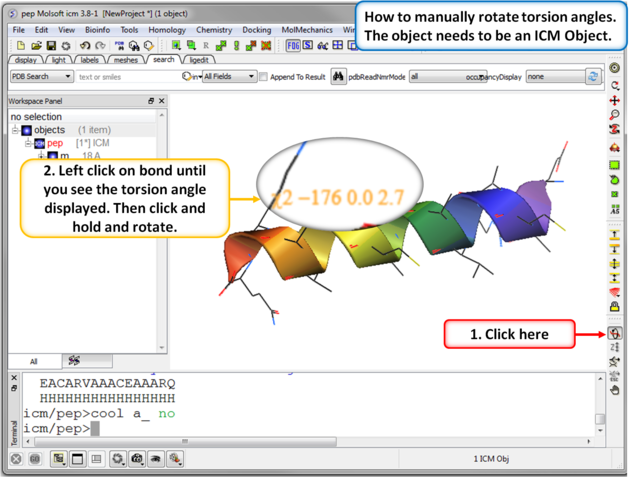
| NOTE: This option can be used more effectively in conjunction with the variable label option. |
To alter torsions by entering specific angle values:
- You can edit torsions by specifically defining the exact angle as described here.
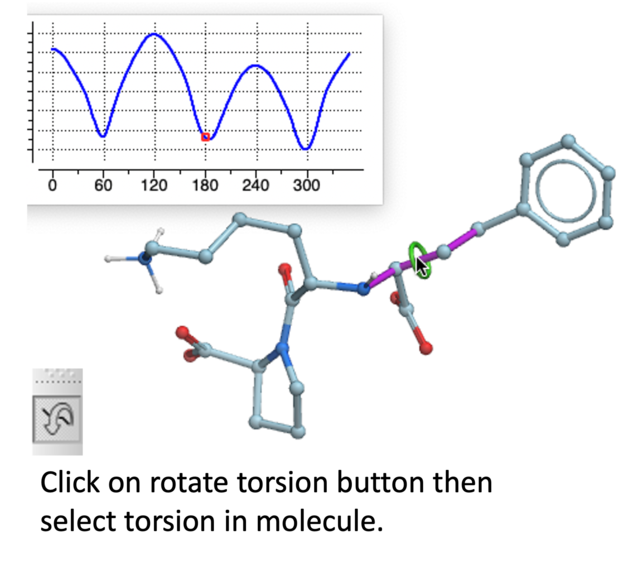
MolSoft's Torsion Profile Neural Network Prediction Engine is shown when you rotate a torsion angle. Statistical Torsion Profiles (STP) are predicted by Graph Convolutional Neural Network (GCNN) trained on structures from Crystallography Open Database (COD). GCNN-STP model captures torsional preferences over a wide range of torsion rotor chemotypes and correctly predicts a variety of effects from the vicinal atoms and moieties. There is a free online tool here and you can read the paper by Raush et al in J. Chem Inf. Model. 2022 here.
- Convert your protein or chemical to an ICM object.
- Select the rotate torsion button in the graphical user interface right hand side panel (see image below)
- Move your mouse over a rotatable bond. Corresponding torsion will be highlighted. Click and drag up/down to rotate torsion. Current value of -Log(probability) will be shown as a red dot on a profile in the left top corner.
- Green rings around the torsion indicate good energy and orange and red indicate strain.
When there is more than one object displayed in the graphical display window the objects are connected to one another. If you wish to move or manipulate one object independently from the others you need to connect to it
To do this from the ICM Workspace:
- Right click on the name of the object you wish to move in the ICM workspace and select Connect to Object. The object will now be colored yellow.
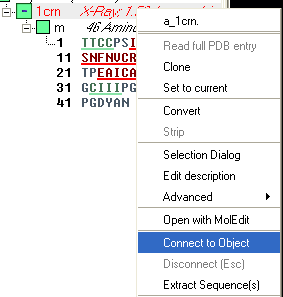
- The object is now controlled separately from the rest of your objects by your mouse.
- Disconnect your object by once again right clicking on the name of the object in the ICM Workspace and selecting disconnect in the drop down menu or Press the ESCAPE key.
| Note: you can temporarily switch to the global rotation in the connected state if you press Shift |
| Note: use the Escape button to disconnect |